
The Madaxeman
Madaxeman.com's Home Page
  • Home
  • Latest Posts
  • Links Page
  • Battle Reports
  • ADLG Index
  • ADLG Wiki
  • Malifaux
  • C London Club
  • 15mm Gallery
  • 15mm Suppliers
  • Facebook
  • The Podcast
  • 10mm
  • Consent Preferences
 RSS Feed

Madaxemans 10mm & Real World Photo Gallery

Photos from museums, and from my 10mm wargaming collection

  • Home
  • Login
  • Album list
    • Last uploads
    • Last comments
    • Most viewed
    • Top rated
    • By date
    • My Favorites
  • Search

The 10mm & Real World Museums Photo Directory - helping you choose the best 10mm tanks, or dig out real cammo schemes from tanks and other military vehicles in museums and shows around the world. You can also search the directory by manufacturer, army or keyword

Anyone can rate the photos just by clicking on the stars beneath each photo. Ratings use a scale of 0-5 where 5 = excellent and 0 = terrible.

Home > 10mm WW2 > Germans

Most viewed - Germans
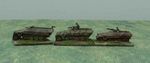
3_hanomags_2.JPG
3 hanomags1105 views
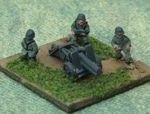
150mminfgun1.JPG
150mm support gun 1081 views
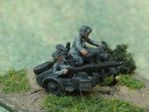
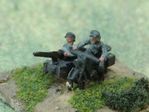
zundapp_2.JPG
1026 views
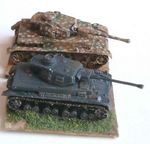
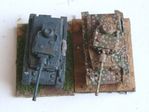
WS_vs_MFG_PzIV_4.JPG
1009 views
zundapp_1.JPG
979 views
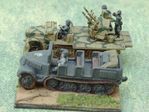
sdkfz7_flak.JPG
Sdkfz 7 and flak940 views
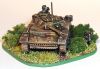
Armoured_FAO_1.jpg
Armoured Forward Artillery Observer - side934 viewsA Panzerbeobachtungswagen (armoured artillery observer) using a converted Panzer III N, with the main gun replaced with a wooden dummy one, and extra radios added. The two figures are Pendraken.
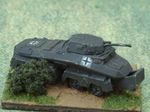
232_8_rad_1.JPG
232 8 RAD930 views
WS_vs_MFG_PzIV_3.JPG
904 views
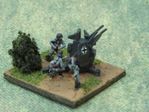
20mm_flak.JPG
Quad AA 20mm852 views
491 files on 50 page(s) 1 2 3 4 5 6 7 8 9 10 11 - 50


Visit Madaxeman on

Youtube Logo
Blogger Logo
Facebook Logo
Podbean Logo
Twitter Logo
Spotify Logo
Pinterest Logo
iTunes Logo
Tune In Logo

Podcasts to download from Madaxeman.com

(Also available on Podbean, iTunes and Spotify)


(These are "affiliate links". If you buy something after clicking on them I get a small kickback from eBay)

Page Loads for the 10mm & Museums Gallery:

About This Site & Privacy Information

Powered by Coppermine Photo Gallery