
The Madaxeman
Madaxeman.com's Home Page
  • Home
  • Latest Posts
  • Links Page
  • Battle Reports
  • ADLG Index
  • ADLG Wiki
  • Malifaux
  • C London Club
  • 15mm Gallery
  • 15mm Suppliers
  • Facebook
  • The Podcast
  • 10mm
  • Consent Preferences
 RSS Feed

Madaxemans 10mm & Real World Photo Gallery

Photos from museums, and from my 10mm wargaming collection

  • Home
  • Login
  • Album list
    • Last uploads
    • Last comments
    • Most viewed
    • Top rated
    • By date
    • My Favorites
  • Search

The 10mm & Real World Museums Photo Directory - helping you choose the best 10mm tanks, or dig out real cammo schemes from tanks and other military vehicles in museums and shows around the world. You can also search the directory by manufacturer, army or keyword

Anyone can rate the photos just by clicking on the stars beneath each photo. Ratings use a scale of 0-5 where 5 = excellent and 0 = terrible.

Most viewed
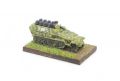
IMGP4288.JPG
Red 3 Sdkfz 251 Hanomags 255 viewsNumbers from Pendraken
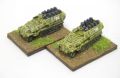
IMGP4291.JPG
Red 3 Sdkfz Hanomags with crew255 viewsThew crew come as 2 strips of seated men and a separate gunner with gun and mantlet cast as a single piece
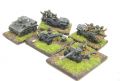
IMGP4348.JPG
British Airborne support 255 viewsPendraken Tetrarch, Pithead polsten & jeeps
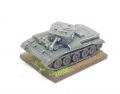
IMGP4373.JPG
Cromwell255 views
IMGP4835.JPG
Diana255 views
IMGP4883.JPG
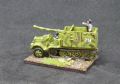
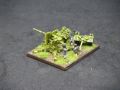
88mm255 viewsCrew may be a random selection from various companies
IMG_2644.JPG
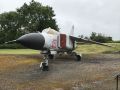
MiG 23255 views
IMG_1737.JPEG
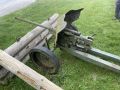
French 25mm AT Gun255 views
IMG_1738.JPEG
French 25mm AT Gun255 views
IMG_1771.JPEG
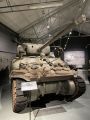
Sherman255 views
3464 files on 347 page(s) 1 - 272 273 274 275 276 277 278 279 280 281 - 347


Visit Madaxeman on

Youtube Logo
Blogger Logo
Facebook Logo
Podbean Logo
Twitter Logo
Spotify Logo
Pinterest Logo
iTunes Logo
Tune In Logo

Podcasts to download from Madaxeman.com

(Also available on Podbean, iTunes and Spotify)


(These are "affiliate links". If you buy something after clicking on them I get a small kickback from eBay)

Page Loads for the 10mm & Museums Gallery:

About This Site & Privacy Information

Powered by Coppermine Photo Gallery